

Thinking of tackling your kitchen cupboard installation yourself? With your new shelves on order and your maintenance underway, you may be tempted to skip the professionals and installation the cabinets your self. Though it’s not easy, it’s miles one hundred percent viable given the proper set of tools, a few persistence and a strong plan. Assembling kitchen cabinets is more a count of precision than whatever else — setting the gadgets of their proper region at the wall, and getting them instantly. Do-it-your self installation can reduce expenses, however be sure to install the shelves earlier than laying new floors to keep away from harm at some point of the technique.
Table of Contents
Kitchen Cabinet Installation
1. Don’t Skip the Stud Finder

Precision and support are crucial in kitchen cabinet installation. Most of us are probably guilty of drilling straight into drywall without bothering to find the studs. Cabinets are large and heavy, and if not installed with adequate support can cause serious damage or injury. Look for the studs behind your wall with a strong stud finder every time, and make sure that you mark each one very clearly before ever picking up or fixing into place any of the cabinets. This easy to do little step simply keeps your cabinets from wiggling around, which means that your kitchen has a safe, stable and professional looking finish that will last for years.
2. Check Walls and Floor Before Installation
Before putting in new kitchen shelves, make sure you check your walls and floor for any mistakes. Check again with a four-foot level and framing rectangular to make certain walls and corners are plumb, square, and at the same aircraft. Take especial observe of places in which there are dips, bulges, or other extraordinary angles that ought to be scribe outfitted, shimmed, and/or have small tweaks made at some stage in installation. You also need to find the high factor on the floor however your base shelves might be set the use of this degree. Advance guidance is the important thing to a professional looking kitchen cabinet installation with flawlessly aligned doorways.
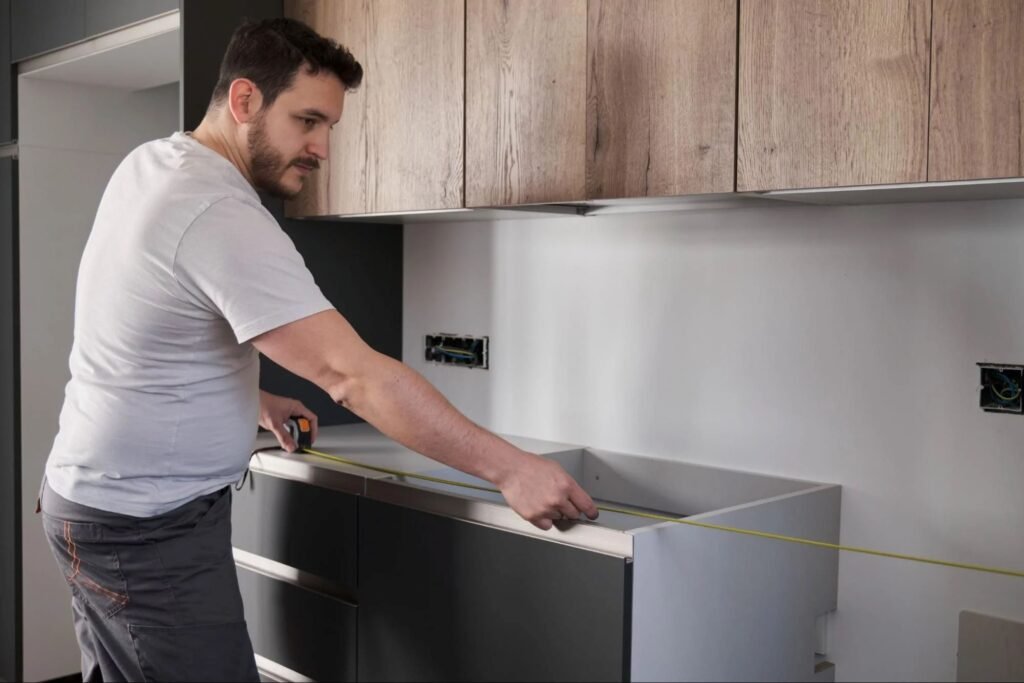
3. Measure the Space
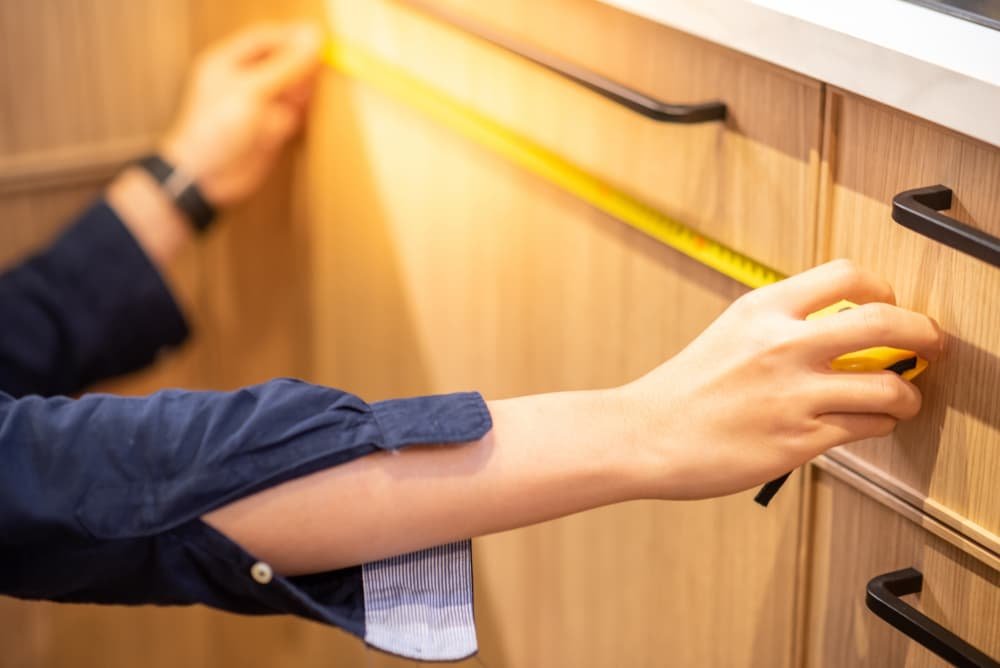
Before you begin putting in kitchen cabinets, it’s sensible to begin by means of assessing your space. Begin by means of measuring the partitions, doors and windows, inclusive of the outside edges of any moulding. Take note of the height from ground to home windows, at the lowest of home windows to pinnacle of windows, and above window tops to ceiling. As you make your format, mark any plumbing and gasoline strains or electric connections due to the fact they may be critical while placing the cabinets. Measuring carefully additionally makes installing the shelves that a good deal simpler and helps you to determine if a particular cabinet style is right to your kitchen format.
4. Demo Your Existing Cabinets
When beginning your kitchen cabinet installation plan, make certain that you need to easy out some of the old factors from every aspect. Begin by clearing all cabinets and unscrewing the doorways, drawers and hardware — however saving any pieces you propose to reuse. Shut off water and electricity; disconnect plumbing and electrical traces. Next take out your old shelves and counter tops, beginning with the bottom to the uppers. Use something like a pry bar and carefully so you don’t damage the wall. If your cabinets are still in appropriate form, donate them. Last, in case you had backsplash to eliminate, and need your floors dust loose.
5. Inspect Your New Cabinets Before Installation
Before you begin installing your new kitchen shelves, it’s miles exceptional to check your new kitchen cabinet designs. Open all of the packages carefully and investigate every component for the correct wide variety, length, color and fashion. Verify that instantly from the factory pre-assembled cabinets are securely constructed and with none seen damage to the container, doorways or shelf. If you ordered equipped-to-bring together (RTA) gadgets, take a look at to make sure that everything is blanketed and intact — drawers, glides, hinges, brackets, shelves and trim. By counting every piece and inspecting them for defects up the front, you’ve got all components at your disposal so you can finish the task without delay.
6. Label Every Cabinet Before You Start
Before beginning your kitchen cupboard installation, make the effort to label every cabinet truely in line with its specified role in your format—such as “Upper Left Corner” or “Sink Base.” Though it’d appear tedious, this simple step will save you from confusion and chaos at some stage in installation. Proper labeling ensures a clean workflow, supporting you become aware of each piece speedy and keep away from blend-ups. It’s specially useful whilst handling a couple of flat-% cabinets or a massive kitchen setup. Staying organized from the start continues the installation process green, pressure-loose, and guarantees your kitchen comes collectively precisely as planned
7. Join the Upper Cabinets
To installation kitchen shelves smoothly, put off the doorways and drawers from the top shelves, then refinish them earlier than changing the hardware. Mark every piece with covering tape so it is easy to put together as soon as dry. Install a instantly 1×three cleat under the top cabinets, prop it to the peak of the line, then attach it via screwing via each stud with 2-inch drywall screws. Position and clamp the face frames of adjacent cabinets flush at the floor. Counter-sink pilot holes thru the pinnacle and backside edges, then screw the shelves collectively with 2-inch screws for a solid professional tightening that is guaranteed to hold your cupboard degree brilliant instantly.
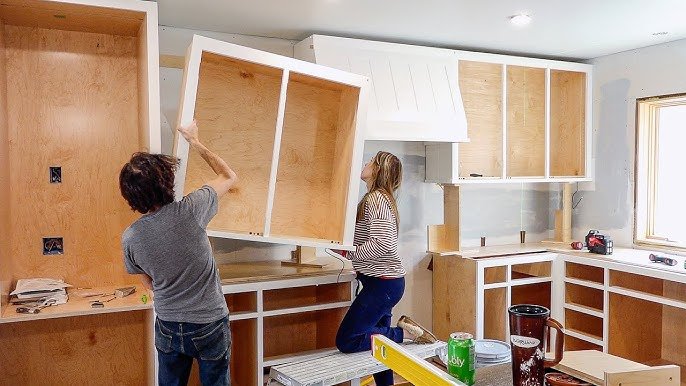
8. Hang Your Upper Cabinets
It’s first rate to normally start your kitchen cabinet design set up with the pinnacle or wall shelves. Getting them above your head is a chunk of a venture, however you won’t have to lean over the bottom cabinets. Begin with the nook cupboard as your reference, and make certain every piece is plumb and installed well with 3-inch screws or shims. Use clamps to region adjoining devices and regular tightly. After they’re all set up, screw them lower back in place, putting the ledger and patching any holes inside the wall.
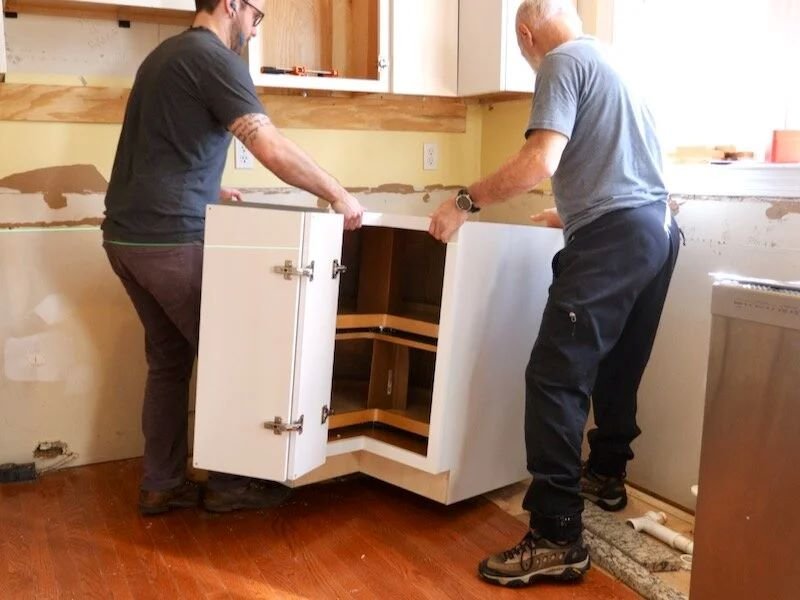
9. Install the Corner Base Cabinet
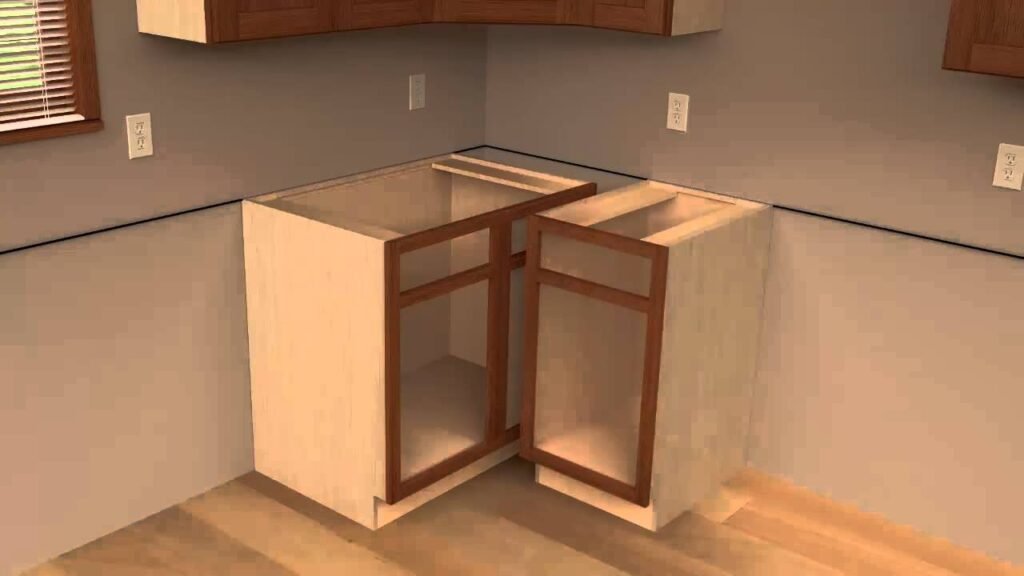
When you begin installing kitchen shelves, start with the corner base cupboard. Move it round till everything works, then use shims to get its height correct so the again part is alongside your layout line. If there are plumbing traces inside the manner, mark their role and drill an correct hollow via the returned panel. Level the cupboard (use a spirit stage) and upload shims as important for perfect alignment. When it’s stage, maintain in location and steady with 2½-inch deck screws and washers driven through the studs into the lower back and floor for a strong base to build off of.
10. Attaching Doors and Drawers
Now that all of your cupboard packing containers are installed at the partitions, it’s time to move on to a kitchen cabinet installation and attach doors and drawers. It is this stage of the technique that absolutely offers your cabinetry its heartbeat – the right aggregate of shape and function for your kitchen. If you ordered preassembled shelves, use the pieces of masking tape you located in advance to ensure every door is hung returned on its original cupboard container. If you have ordered RTA (Ready-to-Assemble) cabinets, the manner is barely simpler as each element is honestly categorised.
11 Adding the Finishing Touches
With your base and wall shelves mounted firmly in function, it’s time to offer your kitchen cabinet set up that an awful lot-needed of completion. These completing touches not most effective appearance stunning however also conceal any little gaps for a expert-looking finish. As usually, take a look at the producer’s instructions earlier than starting any undertaking, as every product can have specific hardware or set up. Base your installation on their hints for a safe, long lasting installation and an stronger ordinary search for your kitchen cabinetry.
